Deploy Your AI Chat Widget
After creating your workspace, configure the widget and paste a single script tag on your website. The widget appears as a floating chat bubble in the bottom-right corner of every page where the snippet is loaded.Configure Your Widget
1
Open the Configuration Tab
Your workspace already includes a web widget. From your workspace, open the Web Widget settings and go to the Configuration tab.
2
Style Your Widget
Set the widget’s appearance and where it can run: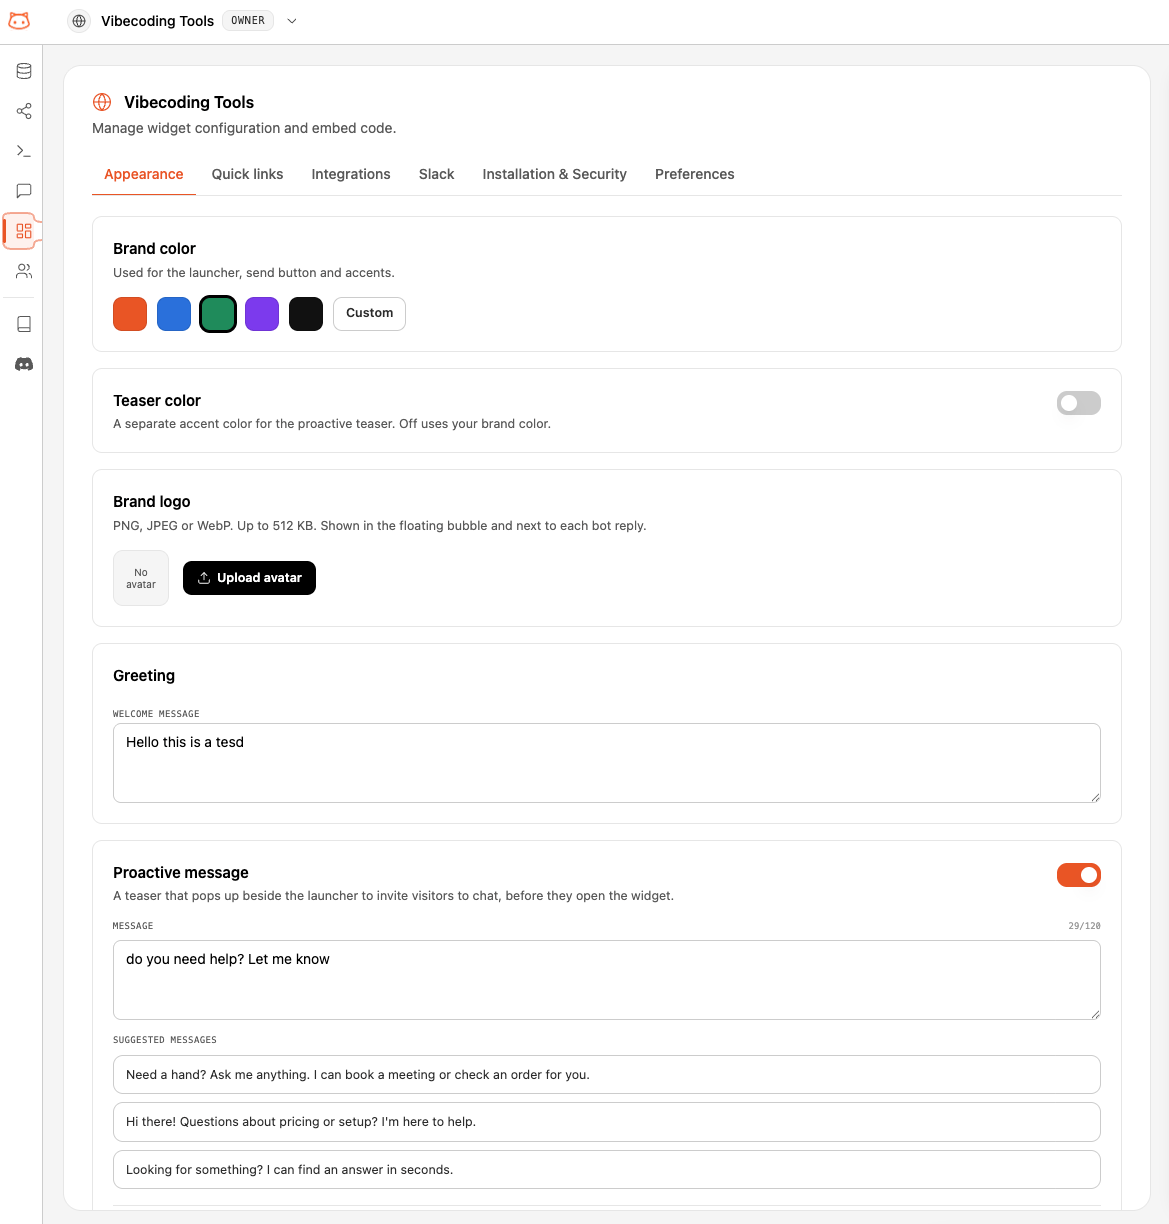
- Primary Color: your brand color in hex (e.g.,
#F97316) - Position: which corner the chat bubble sits in
- Bot Avatar: an optional image shown in the bubble and next to each reply
- Allowed Origins: the domains where the widget may run, one per line. Supports wildcards (
*.example.com). Leave empty to allow all.
3
Copy the Embed Code
After creation, open the Installation tab on your widget settings. You’ll see a single script tag like this: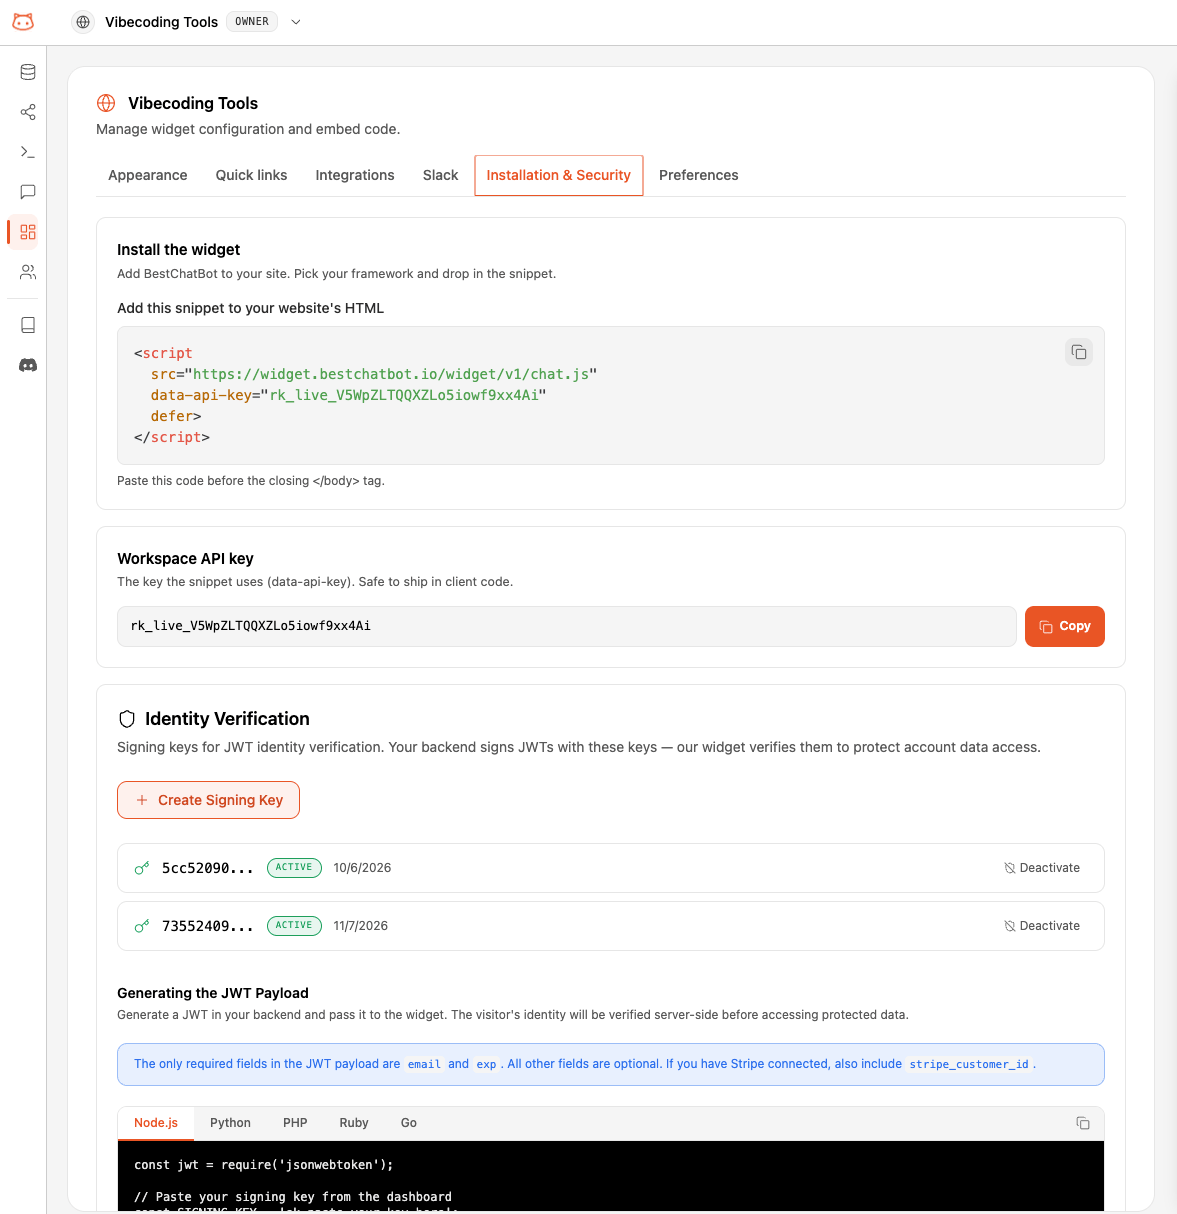
4
Paste on Your Website
Add the script tag just before the closing
</body> tag on any page where the widget should appear.5
Verify It Works
Open your website in a browser. You should see a chat bubble in the bottom-right corner. Click it to open the chat window and test a question.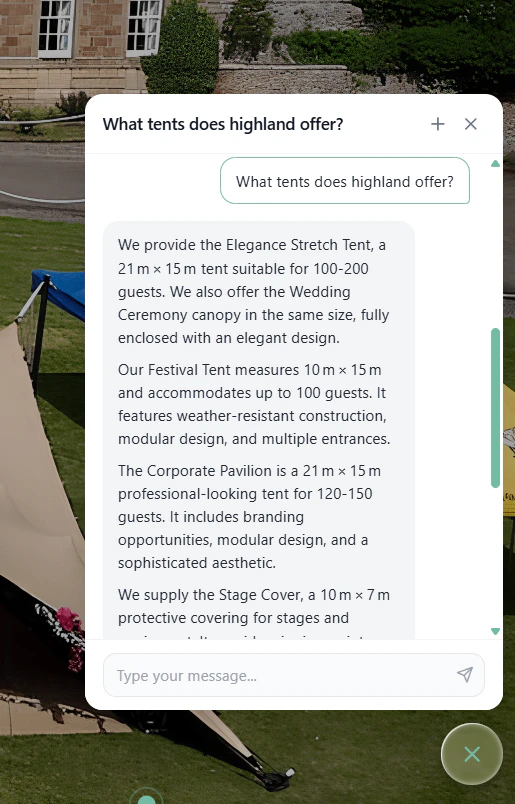
Multiple Widgets
Each workspace runs one widget. To manage multiple sites or brands, create one workspace per widget. Each workspace has its own knowledge base, configuration, and usage tracking.Next Step
Web Widget Guide
Full guide: customize colors, allowed origins, programmatic API, troubleshooting, and more.